How To Repair Baseboards: A Step-by-Step Guide For Every Homeowner
Baseboards might seem like a small detail, but they play a big role in your home’s overall look and feel. If you’ve noticed cracks, gaps, or damage to your baseboards, don’t panic! Repairing them is easier than you think. With the right tools and a little patience, you can restore your baseboards to their former glory. Let’s dive into how to repair baseboards like a pro.
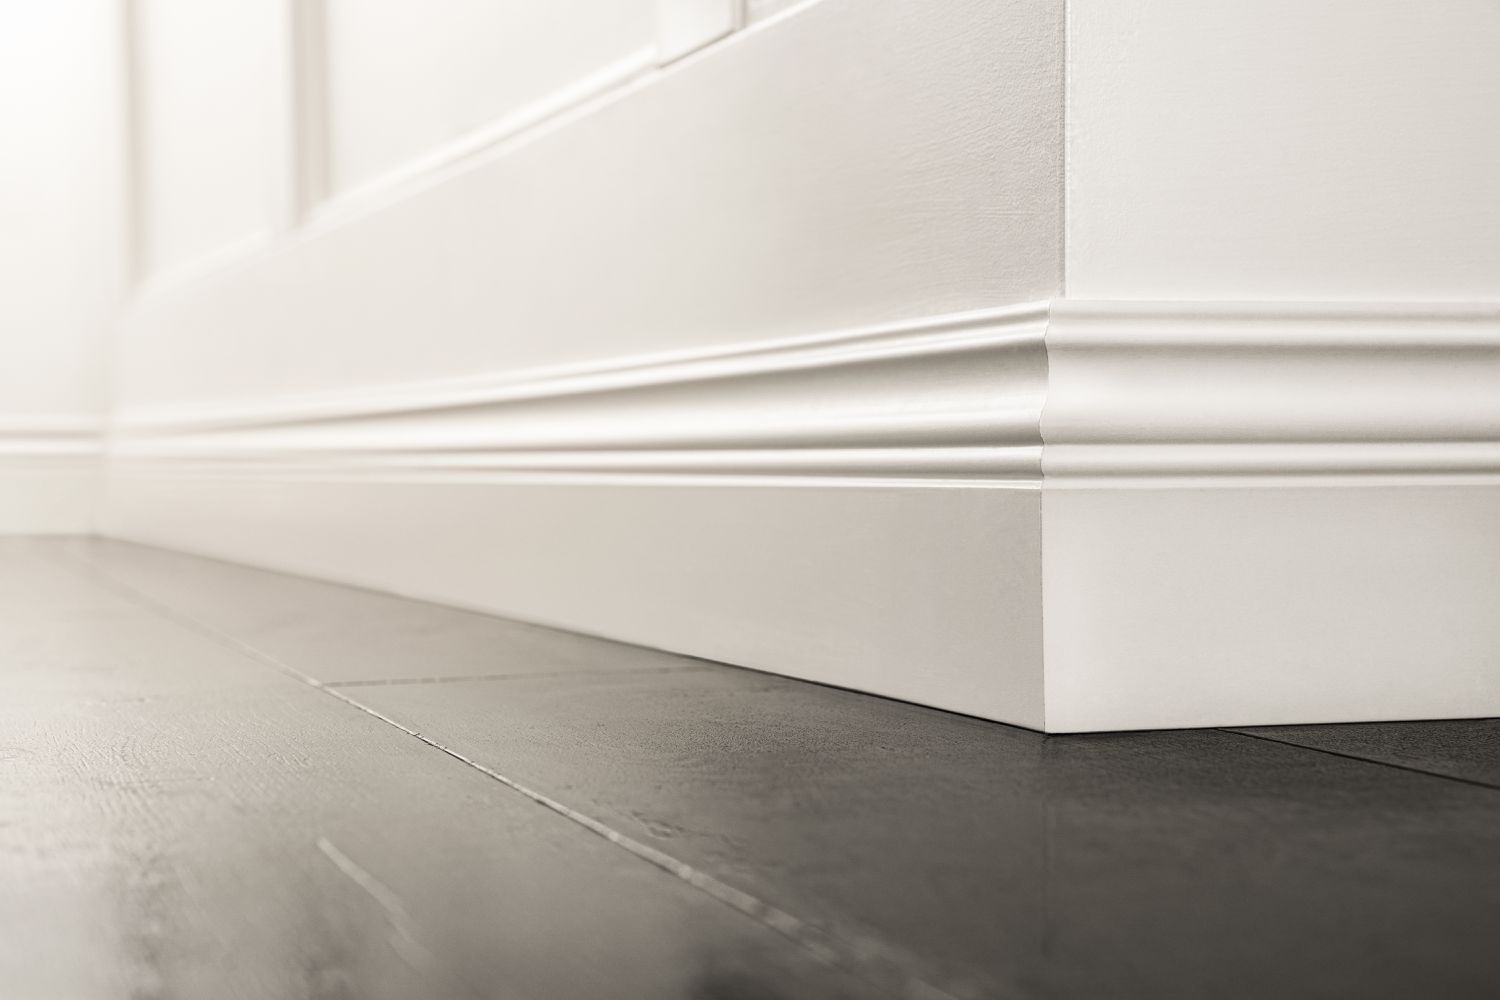
Listen, baseboards are more than just decorative strips of wood—they’re the unsung heroes of your home’s interior design. They not only cover the gaps between walls and floors but also add that finishing touch that makes a room feel complete. But let’s be real, accidents happen, and baseboards can take a beating over time. Whether it’s a scuff mark, a dent, or even water damage, fixing these issues is totally doable.
Now, you might be thinking, “Do I need to call in a professional?” Nah, not necessarily. With this guide, you’ll learn everything you need to know about how to repair baseboards. From minor touch-ups to full-on replacements, we’ve got you covered. So grab your tools, roll up your sleeves, and let’s get to work!
Read also:Discover The Allure Of The Parc At Cherry Creek A Urban Oasis In Denver
Why Baseboards Matter: Understanding Their Role
Baseboards are like the socks of your home—they’re subtle but super important. They protect your walls from damage, hide imperfections, and tie your room’s design together. But when they’re damaged, it can really throw off the whole vibe. That’s why learning how to repair baseboards is such a valuable skill.
Here’s the deal: baseboards take a lot of wear and tear. Between moving furniture, pets, and everyday life, they can get scratched, dented, or even cracked. And if you’ve got kids or pets, you know how quickly those little dings can add up. Luckily, most baseboard repairs are simple and don’t require any fancy tools or expertise.
Tools and Materials You’ll Need
Before you jump into fixing your baseboards, make sure you’ve got the right gear. Here’s a quick rundown of what you’ll need:
- Wood filler or caulk (depending on the damage)
- A putty knife
- Sandpaper (fine grit)
- Paint or stain that matches your baseboards
- A paintbrush or sponge
- A utility knife
- Clean cloths or rags
- Protective gloves and goggles (optional but recommended)
See? Nothing too crazy. Most of these items are probably already in your toolbox or can be picked up at your local hardware store for a decent price.
Step 1: Assess the Damage
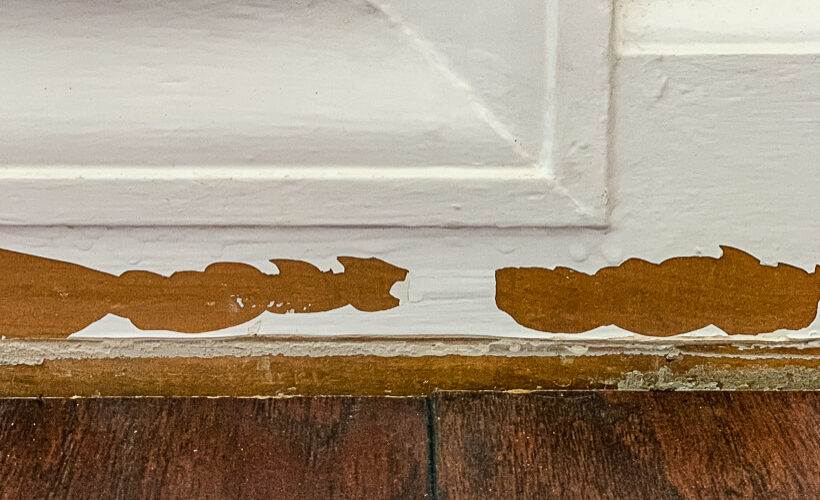
Alright, first things first—you gotta figure out what kind of damage you’re dealing with. Is it just a small scratch? A crack? Or maybe a whole section of the baseboard is missing? The type of damage will dictate the repair process.
Here’s a quick checklist:
Read also:Unleash Your Strength Discover The Ultimate Bodybar Pilates Oak Park Experience
- Minor scratches: These can usually be fixed with paint or stain.
- Cracks or gaps: You’ll want to use wood filler or caulk for these.
- Loose or warped boards: This might require reattaching or replacing the entire piece.
- Water damage: If the baseboard is soggy or moldy, you might need to replace it entirely.
Once you’ve identified the problem, you’ll know exactly what steps to take next.
Step 2: Clean the Baseboards
This might sound obvious, but trust me, it’s crucial. Before you start any repairs, make sure your baseboards are clean and free of dust, dirt, or grime. Use a damp cloth to wipe them down, and let them dry completely before moving on.
Why is this important? Well, if you try to apply filler or paint to a dirty surface, it’s not gonna stick properly. Plus, cleaning gives you a chance to inspect the damage more closely and make sure you haven’t missed anything.
Pro Tip: Test Your Paint or Stain First
Before you start painting or staining, do a quick test on a small, inconspicuous area to make sure the color matches. Trust me, you don’t wanna end up with a baseboard that’s two different shades.
Step 3: Fill in Gaps and Cracks
If your baseboards have cracks or gaps, wood filler or caulk is your best friend. Here’s how to use them:
- Apply the filler or caulk generously over the damaged area.
- Use a putty knife to smooth it out and remove any excess.
- Let it dry according to the instructions on the package (usually 24 hours).
- Sand the area lightly with fine-grit sandpaper to make it smooth and even.
Voilà! Your baseboards should look as good as new. Just remember to wipe away any dust with a damp cloth before painting or staining.
Step 4: Paint or Stain the Repaired Area
Now it’s time to give your baseboards a fresh coat. Whether you’re using paint or stain, make sure it matches the rest of your baseboards. Apply it evenly with a brush or sponge, and let it dry completely.
Here’s a tip: if you’re working on a large area, consider using painter’s tape to create clean lines between the baseboards and the wall. This will help you avoid any messy mistakes.
Step 5: Reattach Loose Baseboards
If your baseboards are loose or coming away from the wall, you’ll need to reattach them. Use a nail gun or screws to secure them back in place. Make sure they’re flush with the wall and level before moving on.
Pro Tip: If you’re using nails, countersink them slightly so they don’t stick out. Then, fill the holes with wood filler and sand them smooth.
Step 6: Replace Damaged Sections
In some cases, the damage might be too severe to repair. If that’s the case, you’ll need to replace the entire section of baseboard. Here’s how:
- Carefully remove the damaged section using a utility knife and pry bar.
- Measure the space to determine how much new baseboard you’ll need.
- Cut a new piece of baseboard to fit the space.
- Attach the new piece with nails or screws, making sure it’s level and flush with the wall.
- Paint or stain the new section to match the rest of your baseboards.
It might sound like a lot of work, but replacing a section of baseboard is actually pretty straightforward once you get the hang of it.
Common Mistakes to Avoid
Even the best DIYers make mistakes sometimes. Here are a few things to watch out for:
- Not cleaning the baseboards: As we mentioned earlier, a dirty surface can ruin your repair job.
- Using the wrong filler: Wood filler and caulk are not interchangeable. Use the right product for the job.
- Over-applying paint or stain: Too much paint can make your baseboards look uneven or streaky.
- Skipping the sanding step: Sanding is key to achieving a smooth finish.
By avoiding these common pitfalls, you’ll end up with a repair that looks professional and lasts a long time.
How to Prevent Future Damage
Now that you’ve fixed your baseboards, you probably want to keep them looking great for as long as possible. Here are a few tips to help you do just that:
- Use furniture pads: These can prevent scratches and dents when moving heavy furniture.
- Keep pets’ nails trimmed: This will reduce the risk of them scratching your baseboards.
- Address water leaks promptly: If you notice any signs of water damage, take care of them right away to prevent further issues.
- Regularly clean and inspect your baseboards: Catching small problems early can save you a lot of hassle down the line.
Prevention is key, folks. A little extra care now can save you a ton of work in the future.
Conclusion: You’ve Got This!
Repairing baseboards might seem intimidating at first, but with the right tools and techniques, it’s totally manageable. Whether you’re dealing with scratches, cracks, or even water damage, you can restore your baseboards to their original beauty.
Remember, the key to a successful repair is preparation. Clean your baseboards, assess the damage, and choose the right materials for the job. And don’t forget to take your time—rushing can lead to mistakes that you’ll regret later.
So go ahead and give it a shot! Once you see the results, you’ll be proud of yourself for tackling this project. And if you’ve got any tips or tricks of your own, feel free to share them in the comments below. Happy repairing!
Table of Contents
Why Baseboards Matter: Understanding Their Role
Tools and Materials You’ll Need
Step 3: Fill in Gaps and Cracks
Step 4: Paint or Stain the Repaired Area
Step 5: Reattach Loose Baseboards
Article Recommendations