DIY Eclipse Viewer Toilet Paper Roll: Your Ultimate Guide To Safe Stargazing
There’s nothing quite like the magic of a solar eclipse. But here’s the deal—staring directly at the sun without proper protection can fry your retinas faster than you can say “Whoa, that’s bright!” That’s where our trusty DIY eclipse viewer made from a toilet paper roll comes in. This simple yet effective tool lets you experience the awe of a solar eclipse without risking your eyesight. So, grab that roll and let’s dive into the world of safe stargazing.
Let’s face it, not everyone has access to fancy eclipse glasses or high-tech telescopes. But don’t worry, because with a little creativity and some basic household items, you can craft your very own eclipse viewer. Not only is this project budget-friendly, but it’s also a fun activity for the whole family. Perfect for those who want to join in on the cosmic fun without breaking the bank.
Now, you might be wondering, “Why use a toilet paper roll?” Well, my friend, it’s all about simplicity and sustainability. Instead of tossing that roll in the trash, why not turn it into a tool for scientific exploration? Plus, it’s compact, easy to handle, and readily available. So, let’s roll up our sleeves and get crafting!
Read also:Lyn May Baby Oil The Quintessential Icon And Her Journey Through Time
What You’ll Need for Your DIY Eclipse Viewer
Before we dive into the step-by-step guide, let’s talk about the materials you’ll need. Don’t worry, you probably already have most of these lying around the house:
- Toilet paper roll (or a paper towel roll if you prefer something sturdier)
- Aluminum foil
- Scissors
- Tape
- A pin or a thumbtack
- Cardstock or thick paper (optional, for added stability)
That’s it! No complicated tools or expensive equipment required. Now that we’ve got our materials sorted, let’s move on to the fun part—building your DIY eclipse viewer.
Step-by-Step Guide: Making Your DIY Eclipse Viewer
Alright, let’s break it down step by step. This is where the magic happens, and trust me, it’s super easy. Follow along, and you’ll have your very own eclipse viewer in no time.
Step 1: Prep the Aluminum Foil
Cut a piece of aluminum foil that’s slightly larger than your toilet paper roll. Carefully wrap it around the roll, making sure it’s nice and snug. Tape it in place so it doesn’t move around. This foil will act as the surface where the sunlight reflects, creating a safe image of the eclipse.
Step 2: Create the Pinhole
Using your pin or thumbtack, carefully poke a small hole in the center of the foil. This hole is crucial because it will project the image of the sun onto a surface. Make sure the hole is clean and not too big or too small. Think of it as the lens of your eclipse viewer.
Step 3: Add Stability (Optional)
If you want your viewer to be extra sturdy, you can attach a piece of cardstock or thick paper to the end of the roll opposite the foil. This will give you a flat surface to project the image onto. Simply tape it in place, and you’re good to go.
Read also:How Old Is Luke From Outdoor Boys The Untold Story Of A Rising Star
Step 4: Test Your Viewer
Head outside on a sunny day and test out your new creation. Hold the roll with the foil side facing the sun and adjust the angle until you see a small, bright dot projected onto the opposite end. Congratulations, you’ve just made your very own eclipse viewer!
Why Use a DIY Eclipse Viewer?
Now that you know how to make one, let’s talk about why this little gadget is so important. First and foremost, it’s a safe way to observe the sun without damaging your eyes. Unlike looking directly at the sun, which can cause serious harm, the pinhole projection method allows you to see the eclipse indirectly.
Plus, it’s a fantastic educational tool. Whether you’re teaching kids about the wonders of the solar system or just brushing up on your own knowledge, this DIY project is a hands-on way to learn about astronomy. And let’s not forget, it’s environmentally friendly. By repurposing something as simple as a toilet paper roll, you’re doing your part to reduce waste.
Common Mistakes to Avoid
As with any DIY project, there are a few common pitfalls to watch out for. Here are some tips to help you avoid them:
- Don’t make the pinhole too big or too small. A perfectly sized hole will give you the clearest image.
- Make sure the foil is securely attached to the roll. If it moves around, it can affect the quality of the projection.
- Avoid using flimsy materials. While a toilet paper roll works great, if you’re planning to use your viewer frequently, consider upgrading to a sturdier option like a paper towel roll.
By keeping these tips in mind, you’ll ensure that your DIY eclipse viewer is both effective and durable.
Fun Facts About Solar Eclipses
While we’re on the topic of eclipses, let’s dive into some fun facts that’ll make you sound like a total astronomy nerd at your next dinner party:
- A total solar eclipse occurs somewhere on Earth about once every 18 months.
- The longest a total solar eclipse can last is about 7.5 minutes.
- During a total eclipse, the temperature can drop significantly, sometimes by as much as 20 degrees Fahrenheit.
Isn’t that wild? The universe really knows how to put on a show, and with your DIY eclipse viewer, you’ll be front-row seats to the spectacle.
Tips for Observing an Eclipse Safely
Even with your trusty DIY viewer, it’s important to practice safe observing techniques. Here are a few tips to keep in mind:
Tip 1: Never Look Directly at the Sun
This one’s a no-brainer, but it bears repeating. Looking directly at the sun, even during an eclipse, can cause permanent eye damage. Stick to your viewer or certified eclipse glasses for the safest experience.
Tip 2: Find a Clear Viewing Spot
Make sure you’re in a location with an unobstructed view of the sky. Trees, buildings, and other obstacles can block your view of the eclipse, so choose your spot wisely.
Tip 3: Be Patient
Eclipses don’t happen every day, so take your time and enjoy the moment. Use your viewer to capture the full experience, and don’t rush the process.
DIY Eclipse Viewer Variations
If you’re feeling extra creative, there are plenty of ways to customize your DIY eclipse viewer. Here are a few ideas to get you started:
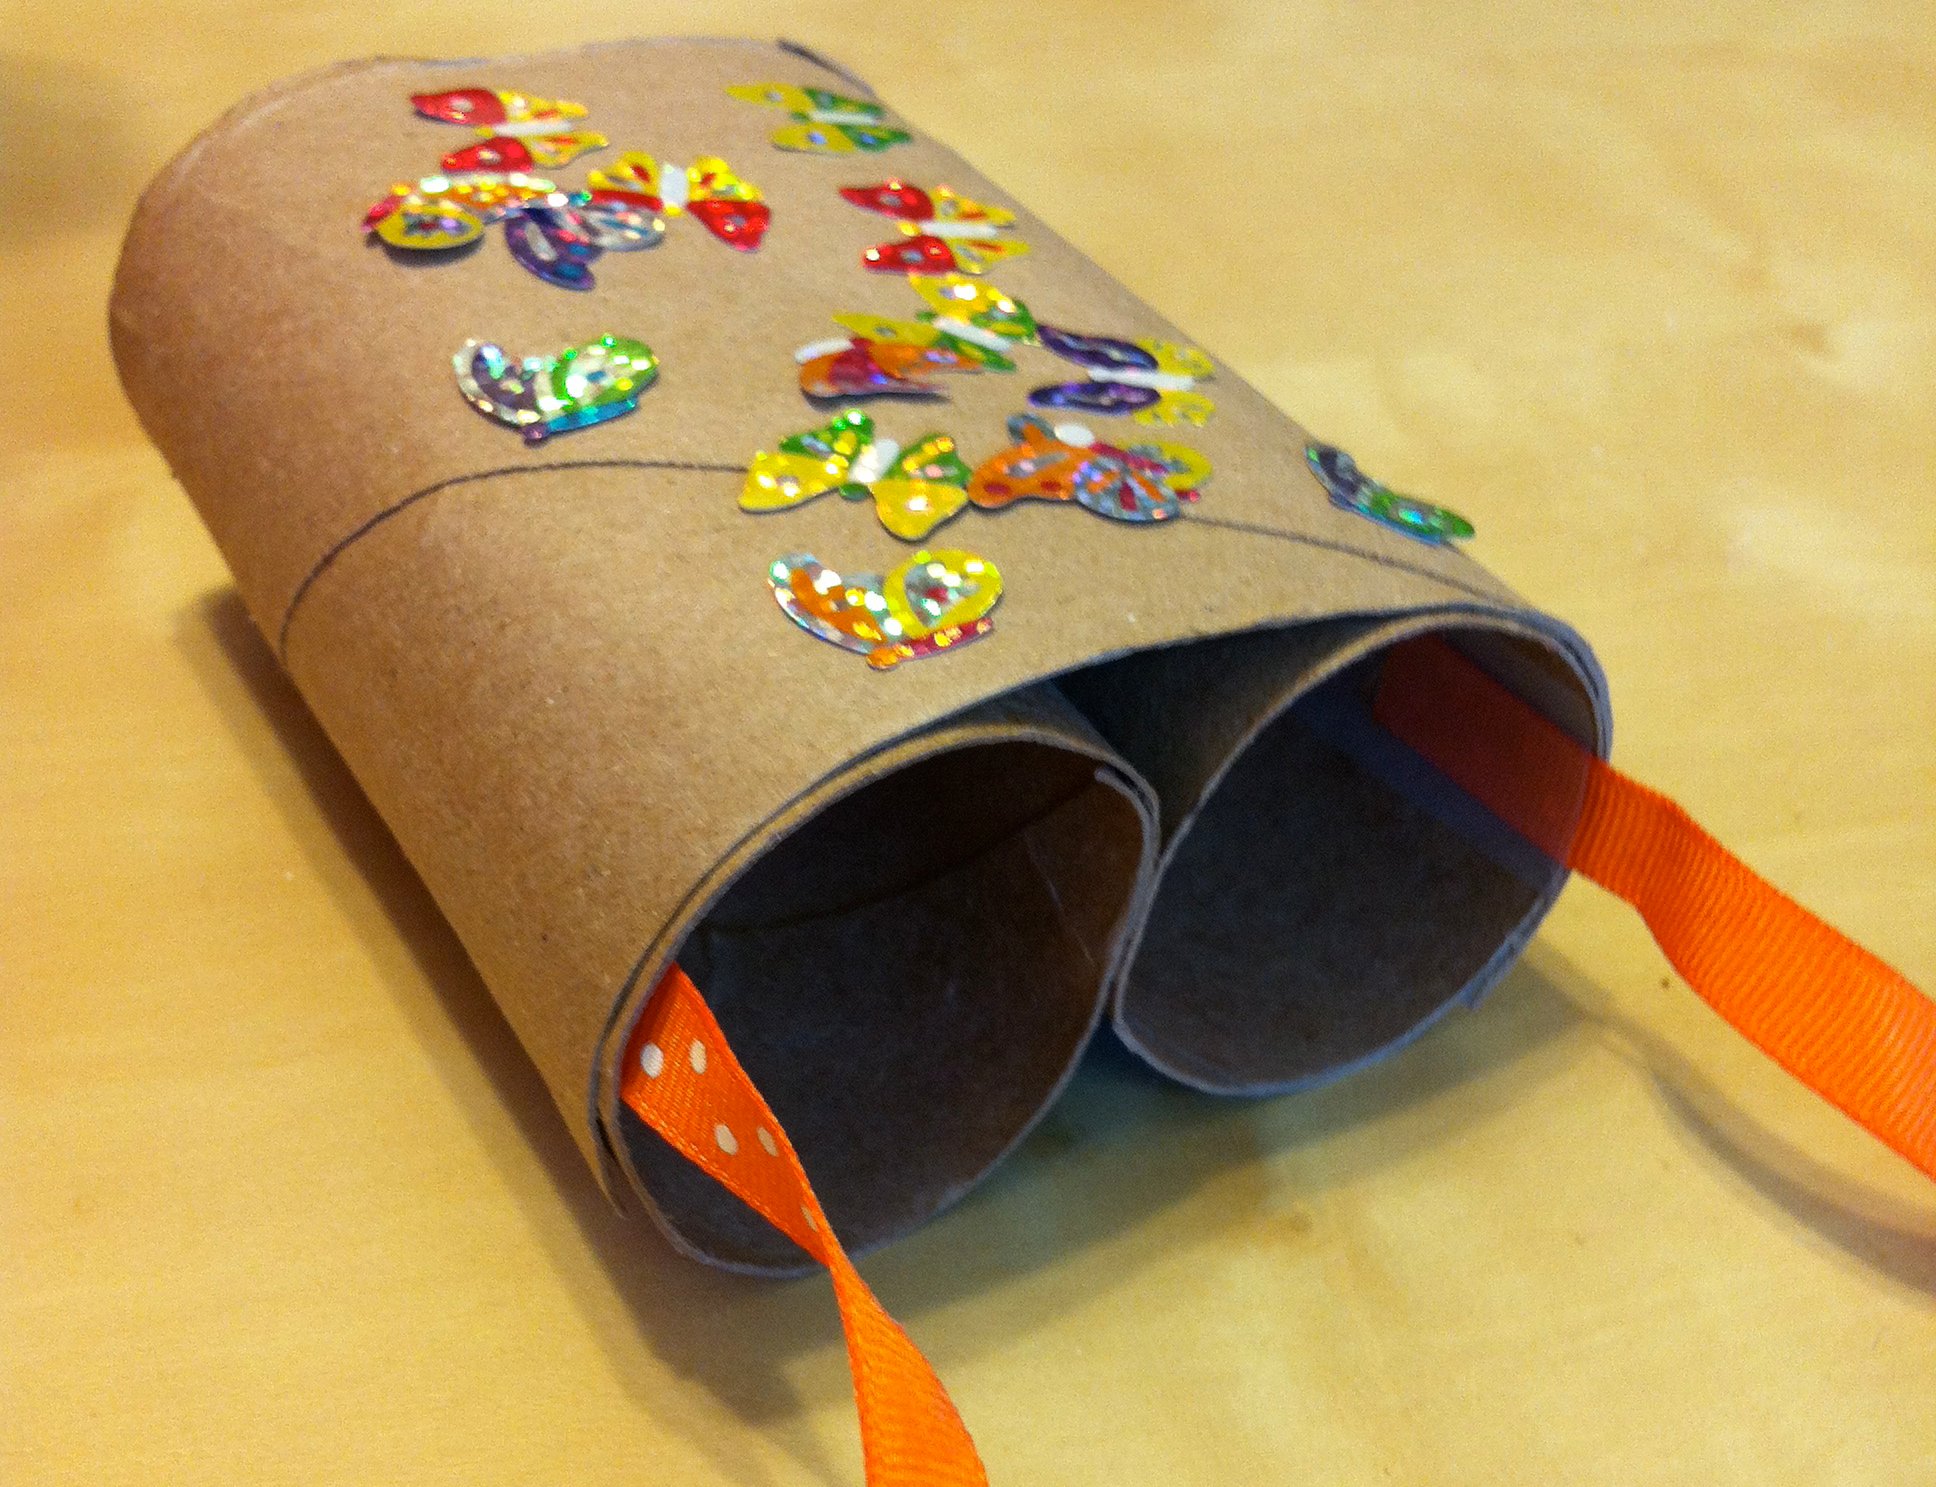
Variation 1: Double Viewer
Attach two toilet paper rolls together to create a double viewer. This allows you to project the image onto a larger surface, making it easier to see.
Variation 2: Decorated Viewer
Let your artistic side shine by decorating your viewer with markers, stickers, or paint. It’s a fun way to personalize your project and make it truly one-of-a-kind.
Variation 3: Box Viewer
For a more stable option, consider using a shoebox instead of a roll. Cut a hole in one end and attach the foil to the inside. This creates a larger viewing area and can be especially helpful for group viewing.
The Science Behind the DIY Eclipse Viewer
Now that you know how to make one, let’s talk about the science behind it. The principle at work here is called pinhole projection. When light passes through a small hole, it creates an inverted image on the opposite side. This is the same principle that early cameras used to capture images before the invention of lenses.
In the case of your DIY eclipse viewer, the pinhole projects an image of the sun onto the opposite end of the roll. By adjusting the angle and distance, you can get a clear and safe view of the eclipse. Pretty cool, right?
DIY Eclipse Viewer Toilet Paper Roll: Final Thoughts
So there you have it, folks—your ultimate guide to crafting a DIY eclipse viewer using a toilet paper roll. Not only is this project fun and easy, but it’s also a great way to experience the magic of a solar eclipse safely. Whether you’re a seasoned stargazer or a curious beginner, this little gadget is sure to become your new favorite tool for cosmic exploration.
Now it’s your turn to take action. Grab that roll, gather your materials, and get crafting. And once you’ve built your viewer, don’t forget to share your experience with us in the comments below. We’d love to hear how it turned out and any tips or tricks you discovered along the way. Happy stargazing!
Table of Contents
- What You’ll Need for Your DIY Eclipse Viewer
- Step-by-Step Guide: Making Your DIY Eclipse Viewer
- Why Use a DIY Eclipse Viewer?
- Common Mistakes to Avoid
- Fun Facts About Solar Eclipses
- Tips for Observing an Eclipse Safely
- DIY Eclipse Viewer Variations
- The Science Behind the DIY Eclipse Viewer
- DIY Eclipse Viewer Toilet Paper Roll: Final Thoughts
Article Recommendations